Cómo instalar y configurar 'PowerDNS' (con MariaDB) y 'PowerAdmin' en RHEL/CentOS 7
PowerDNS es un servidor DNS que se ejecuta en muchos derivados de Linux/Unix. Se puede configurar con diferentes backends, incluidos archivos de zona de estilo BIND, bases de datos relacionales o algoritmos de equilibrio de carga/conmutación por error. También se puede configurar como un recurso DNS que se ejecuta como un proceso separado en el servidor.
La última versión del servidor autorizado PowerDNS es la 3.4.4, pero la que está disponible en el repositorio EPEL ahora mismo es la 3.4.3. Recomendaría instalar el del repositorio EPEL debido a que esta versión está probada en CentOS y Fedora. De esa manera también podrás actualizar fácilmente PowerDNS en el futuro.
Este artículo pretende mostrarle cómo instalar y configurar el servidor maestro PowerDNS con un backend MariaDB y PowerAdmin, una herramienta de administración de interfaz web amigable para PowerDNS.
A los efectos de este artículo, utilizaré un servidor con:
Hostname: centos7.localhost
IP Address 192.168.0.102
Paso 1: Instalar PowerDNS con el backend de MariaDB
1. Primero necesita habilitar el repositorio EPEL para su servidor, simplemente use:
yum install epel-release.noarch

2. El siguiente paso es instalar el servidor MariaDB. Esto se puede hacer fácilmente ejecutando el siguiente comando:
yum -y install mariadb-server mariadb

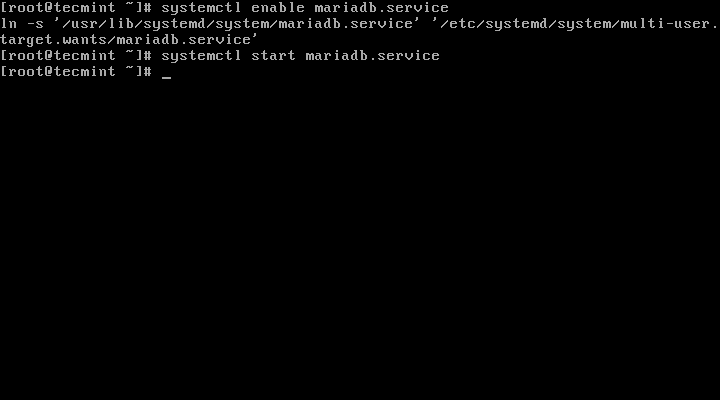
3. A continuación configuraremos MySQL para habilitarlo e iniciarlo al arrancar el sistema:
systemctl enable mariadb.service
systemctl start mariadb.service
4. Ahora que el servicio MySQL se está ejecutando, aseguraremos y configuraremos una contraseña para MariaDB ejecutando:
mysql_secure_installation
Seguir instrucciones
/bin/mysql_secure_installation: line 379: find_mysql_client: command not found

NOTE: RUNNING ALL PARTS OF THIS SCRIPT IS RECOMMENDED FOR ALL MariaDB
      SERVERS IN PRODUCTION USE!  PLEASE READ EACH STEP CAREFULLY!

In order to log into MariaDB to secure it, we'll need the current
password for the root user.  If you've just installed MariaDB, and
you haven't set the root password yet, the password will be blank,
so you should just press enter here.

Enter current password for root (enter for none):  Press ENTER
OK, successfully used password, moving on...

Setting the root password ensures that nobody can log into the MariaDB
root user without the proper authorisation.

Set root password? [Y/n] y
New password:  ← Set New Password
Re-enter new password:  ← Repeat Above Password
Password updated successfully!
Reloading privilege tables..
 ... Success!


By default, a MariaDB installation has an anonymous user, allowing anyone
to log into MariaDB without having to have a user account created for
them.  This is intended only for testing, and to make the installation
go a bit smoother.  You should remove them before moving into a
production environment.

Remove anonymous users? [Y/n] y ← Choose “y” to disable that user
 ... Success!

Normally, root should only be allowed to connect from 'localhost'.  This
ensures that someone cannot guess at the root password from the network.

Disallow root login remotely? [Y/n] n ← Choose “n” for no
 ... skipping.

By default, MariaDB comes with a database named 'test' that anyone can
access.  This is also intended only for testing, and should be removed
before moving into a production environment.

Remove test database and access to it? [Y/n] y ← Choose “y” for yes
 - Dropping test database...
 ... Success!
 - Removing privileges on test database...
 ... Success!

Reloading the privilege tables will ensure that all changes made so far
will take effect immediately.

Reload privilege tables now? [Y/n] y ← Choose “y” for yes
 ... Success!

Cleaning up...

All done!  If you've completed all of the above steps, your MariaDB
installation should now be secure.

Thanks for using MariaDB!
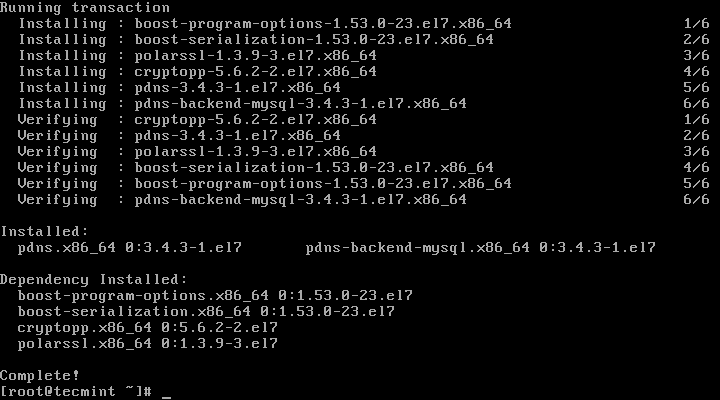
5. Una vez que la configuración de MariaDB se haya realizado correctamente, podemos continuar con la instalación de PowerDNS. Esto se completa fácilmente ejecutando:
yum -y install pdns pdns-backend-mysql
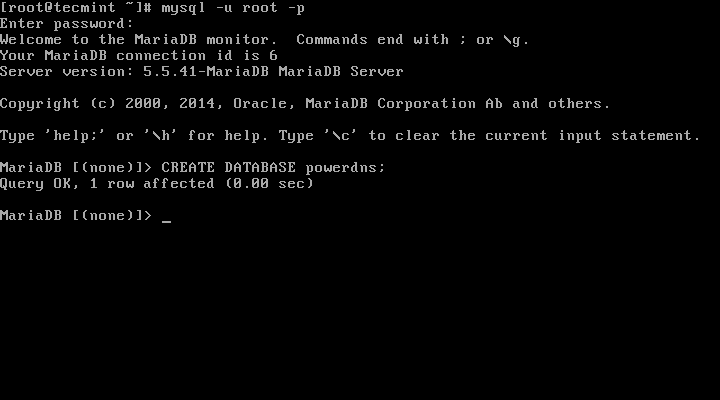
6. El archivo de configuración de PowerDNS se encuentra en /etc/pdns/pdns, pero antes de editarlo, configuraremos una base de datos MySQL para Servicio PowerDNS. Primero nos conectaremos al servidor MySQL y crearemos una base de datos con nombre powerdns:
mysql -u root -p
MariaDB [(none)]> CREATE DATABASE powerdns;
7. A continuación, crearemos un usuario de base de datos llamado powerdns:
MariaDB [(none)]> GRANT ALL ON powerdns.* TO 'powerdns'@'localhost' IDENTIFIED BY 'tecmint123';
MariaDB [(none)]> GRANT ALL ON powerdns.* TO 'powerdns'@'centos7.localdomain' IDENTIFIED BY 'tecmint123';
MariaDB [(none)]> FLUSH PRIVILEGES;
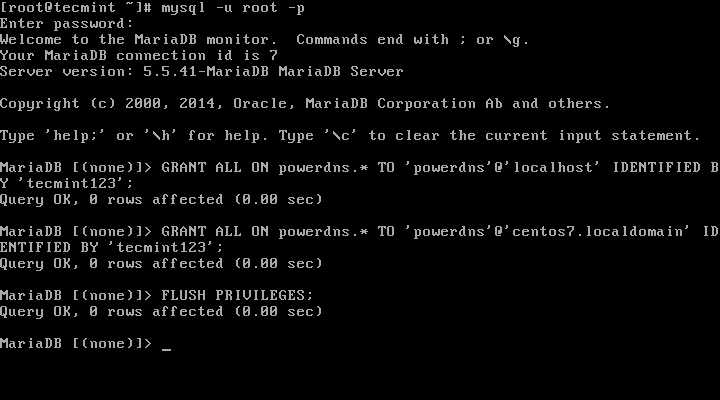
Nota: Reemplace “tecmint123 ” con la contraseña real que desea utilizar para su configuración.
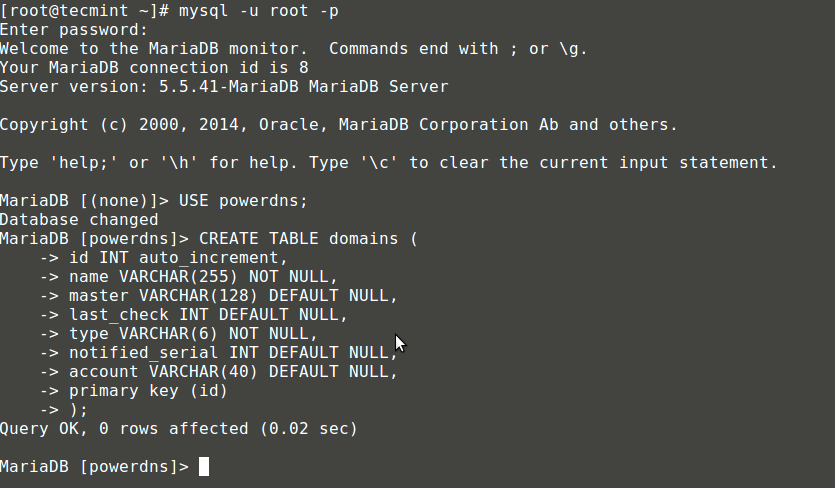
8. Procedemos a crear las tablas de la base de datos utilizadas por PowerDNS. Ejecutarlos bloque por bloque:
MariaDB [(none)]> USE powerdns;
MariaDB [(none)]> CREATE TABLE domains (
id INT auto_increment,
name VARCHAR(255) NOT NULL,
master VARCHAR(128) DEFAULT NULL,
last_check INT DEFAULT NULL,
type VARCHAR(6) NOT NULL,
notified_serial INT DEFAULT NULL,
account VARCHAR(40) DEFAULT NULL,
primary key (id)
);
MariaDB [(none)]> CREATE UNIQUE INDEX name_index ON domains(name);
MariaDB [(none)]> CREATE TABLE records (
id INT auto_increment,
domain_id INT DEFAULT NULL,
name VARCHAR(255) DEFAULT NULL,
type VARCHAR(6) DEFAULT NULL,
content VARCHAR(255) DEFAULT NULL,
ttl INT DEFAULT NULL,
prio INT DEFAULT NULL,
change_date INT DEFAULT NULL,
primary key(id)
);

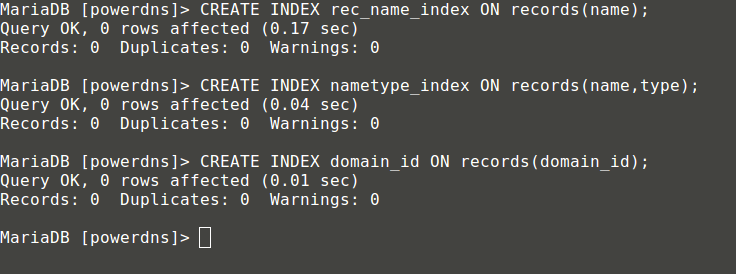
MariaDB [(none)]> CREATE INDEX rec_name_index ON records(name);
MariaDB [(none)]> CREATE INDEX nametype_index ON records(name,type);
MariaDB [(none)]> CREATE INDEX domain_id ON records(domain_id);
MariaDB [(none)]> CREATE TABLE supermasters (
ip VARCHAR(25) NOT NULL,
nameserver VARCHAR(255) NOT NULL,
account VARCHAR(40) DEFAULT NULL
);

Ahora puedes salir de la consola MySQL escribiendo:
MariaDB [(none)]> quit;
9. Finalmente podemos proceder a configurar nuestro PowerDNS de manera que utilice MySQL como backend. Para ello abra el archivo de configuración PowerDNS ubicado en:
vim /etc/pdns/pdns.conf
En ese archivo busque las líneas que se ven así:
#################################
launch        Which backends to launch and order to query them in
#
launch=
Justo después de eso ponga el siguiente código:
launch=gmysql
gmysql-host=localhost
gmysql-user=powerdns
gmysql-password=user-pass
gmysql-dbname=powerdns
Cambie “contraseña de usuario” con la contraseña real que estableció anteriormente. Así es como se ve mi configuración:

Guarde su cambio y salga.
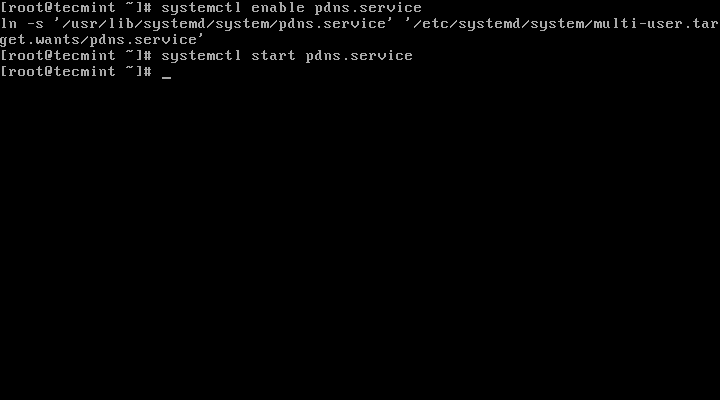
10. Ahora iniciaremos y agregaremos PowerDNS a la lista de servicios comenzando en el inicio del sistema:
systemctl enable pdns.service
systemctl start pdns.service
En este punto, su servidor PowerDNS está en funcionamiento. Para obtener más información sobre PowerDNS puede consultar el manual disponible en http://downloads.powerdns.com/documentation/html/index.html